Ingredients for Part 1:
2 packages dry yeast 1/4 cup sugar 1 cup warm milk 1 1/2 cups flour
Directions for Part 1:
1. Combine Ingredients for Part 1 adding the flour last after mixing the other ingredients. You can use an electric mixer on a low speed. Keep warm and let rise (until little bubbles form in dough/starter) for about 20 minutes.
Ingredients for Part 2:
1/4 cup sugar 1 teaspoon salt 3 eggs 1/2 cup warm (melted) lard (or butter) - - but lard is better for flavor 3 1/2 cups flour
Directions for Part 2:
1. Combine the Ingredients for Part 2 with Part 1 using a mixer on low speed. Add the flour last. Change to a dough hook while adding the flour if using an electric mixer. If the dough is extremely sticky, add flour a tablespoon at a time until it's a semi-sticky dough.
2. Let the dough rise (cover with a heated moist towel or plastic wrap (loosely) for 2 hours in a warm area.
Ingredients for Part 3:
1/2 of a large head of cabbage (chopped) - - or 3/4 of a small head of cabbage (chopped) 3 - 4 tablespoons of lard for frying (yes, lard.... for flavor... you can use bacon grease or a combination of bacon grease and lard, too.) 1 tablespoon salt 1/2 teaspoon pepper
Directions for Part 3 - the filling:
1. Melt lard in a deep frying pan. 2. Add chopped cabbage, salt, and pepper. 3. Fry until a wilted light golden brown.
Directions for Part 4 - after dough has risen:
1. Separate the dough into 3 equal parts. 
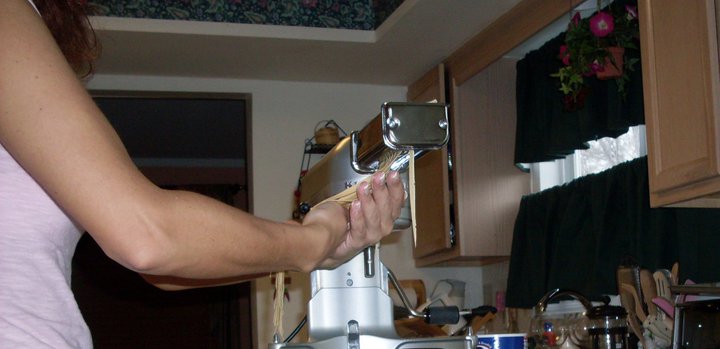
2. Roll out each part into a square (or as close to a square as you can get it). 3. Place 1/3 of the cooked cabbage in the center of each dough square. Don't mound it.... try to get it a little spread out...but not too much. Keep it near the center. 4. Fold each square of dough so that it forms another square shape around the center of the cabbage. You won't cover the cabbage entirely. Some will be exposed in the center. Pinch together the seams of the dough. 
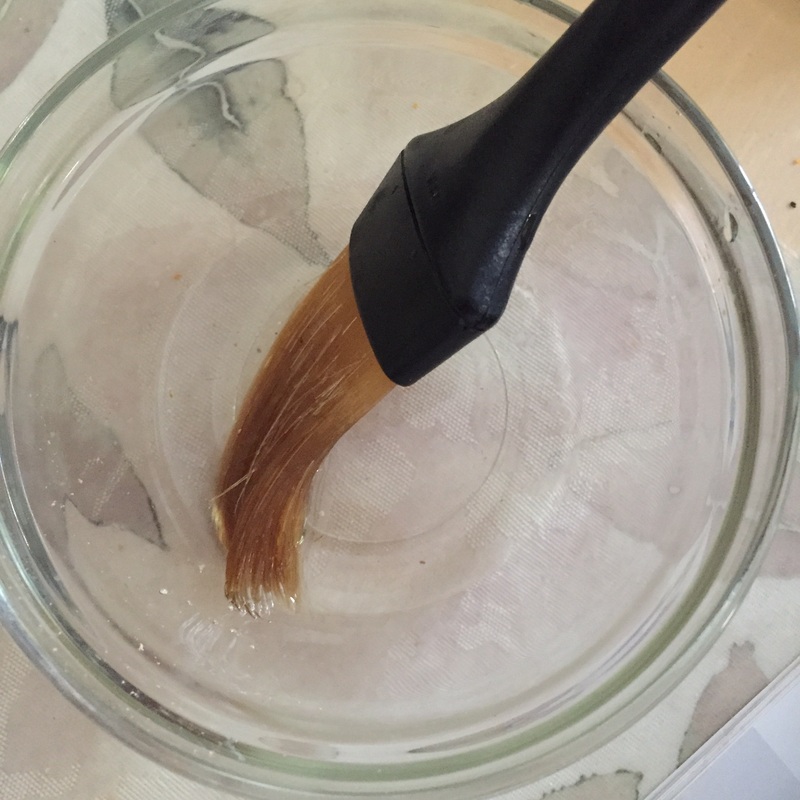
5. Brush the top of each cabbage cake with beaten egg. (1 egg should be enough for the egg wash) 
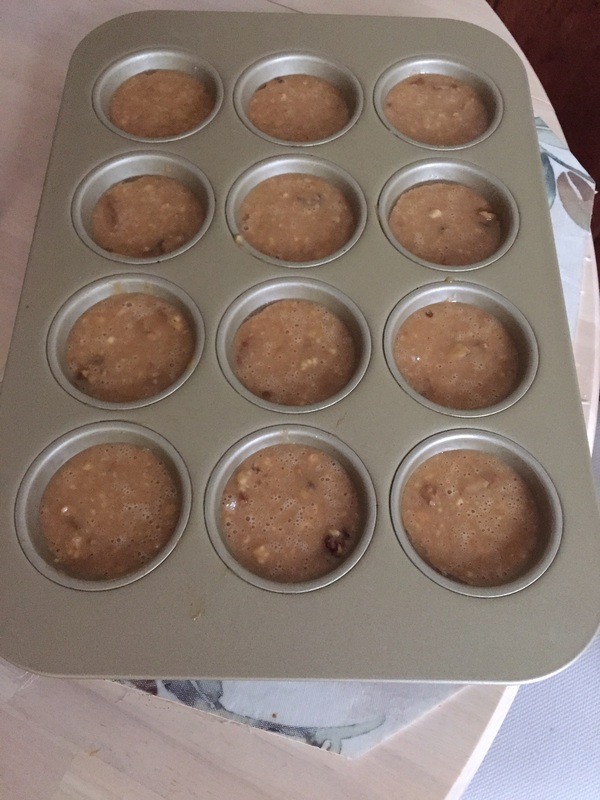
6. Bake at 350 for 35 - 40 minutes.
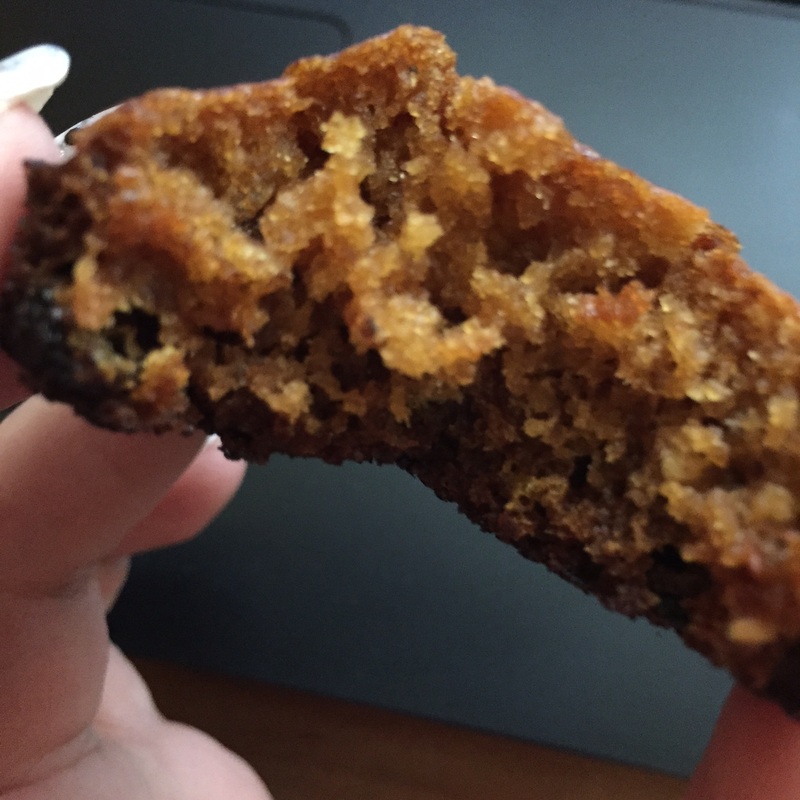
You can freeze what you will not eat immediately if you wrap it well and put it in ziploc freezer bags. This is not something you want to make a "light" or "healthy" version of. If you don't use lard or lard/bacon grease, your cabbage cake will be bland and not have enough flavor. This is a savory bread. The recipe has been passed down from my great grandmother and is probably close to 100 years old. Enjoy!
Ingredients
1 lb. ground pork 1 egg 1 teaspoon salt* 1/2 teaspoon black pepper* 1 teaspoon paprika* 1 medium onion, grated 1/4 teaspoon garlic powder* 1 small head cabbage 1 large can sauerkraut 1/2 handful raw barley* 1 clove garlic
*these measurements are not "scientific"; nor exact. My grandmother measured using her hands and eyeballing it. You basically season to taste. Start off with these measurements as a ballpark figure, and then if you like it saltier, etc. add more salt. If you have a larger or smaller can of sauerkraut, it's not going to hurt the recipe. And if your 1/2 handful of raw barley is bigger or smaller than mine - the recipe will turn out just fine!
Directions
1. Bring water to a boil in a large pot. 2. Separate leaves from the head of cabbage. Try to leave the leaves as whole as possible without tearing them. Trim any really hard parts off of the cabbage leaves. If the leaves are super big, cut them in 1/2. 3. Par boil the leaves for about 7 minutes to soften them. 4. Meanwhile, in a large bowl, mix ground pork, egg, salt, pepper, paprika, garlic powder, grated onion and barley. Mix it with your hands like you're making meatloaf. 5. When the cabbage leaves are done, remove them from the boiling water. When they are cool enough to handle, fill each leaf with the pork mixture. Put it near the bottom of the leaf but towards the center. Don't overstuff it or it will be impossible to roll. 6. Roll up the cabbage leaves tightly and tuck in both ends. If you roll it up loosely it will be a mess....so you have to roll each leaf tight. If you can't get it to stay shut, put 2 - 3 toothpicks through each cabbage roll to make sure it stays put. 7. In another large pot, put a layer of rinsed sauerkraut. Then put a layer of cabbage rolls on top of it. Then another layer of sauerkraut, and another layer of cabbage rolls. Repeat in layers until all of the cabbage rolls are in the pot. 8. Sprinkle a little uncooked barley over the top. 9. Put 1 clove of garlic in the post and add water to over the cabbage rolls. 10. Cook for about 3 - 3 1/2 hours, covered, on low heat until soft. It's best when you cook it slowly over time. Everything softens up better that way.
Yield - 10 - 12 cabbage rolls....or about 14 if you're an expert small cabbage roll roller. : ) Make sure you remove any toothpicks from the rolls if you used them, before you serve them! This is also the kind of thing that tastes even better the next day reheated. So you'll want to save those leftovers!
Ingredients:
1 whole chicken cut up (skin on - you want to give it flavor with the skin; you can take the skin off before you eat it) 3 heaping tablespoons flour + 2 more tablespoons flour for the optional sour cream sauce 2 tablespoons paprika (it does NOT have to say Hungarian paprika; regular paprika is just fine) 1 teaspoon ground pepper 1 teaspoon salt 1 teaspoon garlic powder 1 large onion cut into thin slices 3 cups water 1/2 stick of butter cut into small pieces 8 oz. sour cream (I use Breakstone's. It's got to be a good full fat sour cream.)
Instructions:
1. Place chicken pieces in a large 12x16 oven-safe glass baking dish - or something close to that size. The sides should go up about 2 1/2 - 3 inches.
2. Place the onion slices around the chicken - not on it. You want them to soak in the gravy as this cooks.
3. Cut the 1/2 stick of butter into small pieces and drop dabs over the chicken and onions.
4. Mix the 3 tablespoons of flour with the 3 cups of water until blended. This is your "gravy" starter. Pour this over the chicken/onions/butter.
5. Sprinkle the salt, pepper, garlic powder, and paprika over the chicken pieces. These spice measurements are approximate. If you like it saltier, add more salt. If you like it spicier, add more pepper.
6. Cover with aluminum foil and bake at 350 degrees for 1 1/2 hours. You want this to cook SLOWLY so the chicken is soft. Give it a fork test after 1 1/2 hours to make sure the chicken is cooked through on the inside. If you have a slightly bigger chicken, it may need more time in the oven. So you have to cut into it to make sure it's not pink around the bone.
7. When the chicken is done, take it out of the oven. It's great to have just this way. Make sure you pour enough gravy and onions over the chicken when you serve it. The skin can be removed from the chicken at this point if you would like to do it.
8. If you like a sour cream sauce: prepare your sour cream sauce by combining 8 oz. sour cream with 2 tablespoons flour. Mix it together really well. Pour the sour cream sauce into the gravy around the chicken and mix it thoroughly around the chicken pieces as best as you can. Re-cover it and put it back in the oven for 10 more minutes just to heat the sauce up again. Again, when you serve the chicken make sure you put enough sour cream sauce and onions over the chicken.
Notes:
1. Sour cream sauce is optional. 2. Cooking time will vary depending on the size of the chicken you cut up. 3. Cook the chicken pieces with the skin on to add flavor to the dish. You can remove the skin before you eat it. 4. I've heard some people have had this recipe with dumplings in the gravy. I've never made it that way but it would be easy enough if you wanted to prepare dumplings separately and then add them to the sour cream sauce or gravy in the last step. 5. If you find about 1 hour into cooking that a lot of the gravy has evaporated, add some more water a 1/2 cup at a time to the pan in the oven until it looks like you've got enough gravy around the chicken. You don't want to roast the chicken. You want it cooking in a good 1 inch (approximately) of gravy so it softens up. So add as much water as you want to the pan to achieve this. For a thicker gravy, add a tablespoon of flour to each cup of water you add.
Ingredients:
½ cup sugar 2 tablespoons corn starch Pinch of salt 1 ½ cups heavy cream (1/2 pint) ½ cup milk 2 eggs 1 teaspoon vanilla extract 2 ounces semisweet chocolate, melted 1 ½ cups cooked, Carolina white rice (or good quality white rice)
Instructions:
1. In a heavy-bottomed saucepan, whisk together sugar, cornstarch, salt, followed by milk and cream. 2. Heat over medium heat, stirring constantly until mixture thickens. Remove from heat. 3. In a small bowl, beat eggs, adding in about ½ cup of the hot mixture. 4. Add this back to the saucepan, whisking together over medium heat. 5. Bring mixture to a gentle boil, stirring constantly until thickened. 6. Remove from heat. 7. Stir in vanilla, melted chocolate, and cooked rice. 8. Serve warm or chilled.
Ingredients:
2 oz. vodka (Skyy or high quality) ¼ oz. lemon juice 2 slices cucumber (one peeled and diced, one not peeled for garnish) ¼ cucumber, peeled About 7 or 8 mint leaves (put a small sprig to the side for garnish) 1 oz. sugar syrup
Instructions:
1. Muddle mint leaves and sugar syrup in a cocktail shaker.
2. Grate ¼ cucumber over cocktail shaker so all the juices and gratings get in it.
3. Add lemon juice, diced cucumber, and vodka. Muddle again.
4. Add about ½ cup crushed ice. Shake and strain into a martini glass.
5. Garnish with a slice of cucumber and a fresh mint sprig.
Special Notes:
If you don't have sugar syrup on hand, you can create some by taking approximately 3 Tablespoons of sugar and 5 Tablespoons of water, stir, and bring to a boil on the stove. Be sure to stir constantly until all the sugar dissolves in the water. Add more water 1 Tablespoon at a time if the syrup is too grainy and all of the sugar is not dissolved. The syrup should be clear when done. Let it cool for a few minutes while you're assembling the martini ingredients. The syrup will cool further once the ice is added to the cocktail shaker.
Ingredients:
1 cup vegetable oil 3 cups sugar 4 eggs 1 ½ tsp. nutmeg 1 ½ tsp.cinnamon 1 ½ tsp. salt 1 cup water 2 tsp. baking soda 1 cup yellow (golden) raisins 1 ½ cups canned pumpkin 3 ½ cups flour ½ cup chopped walnuts (optional)
Instructions:
1. In a large bowl mix oil, sugar, & eggs until smooth.
2. Blend in nutmeg, cinnamon, salt, pumpkin, & water.
3. In another bowl mix flour, baking soda, raisins, & walnuts.
4. Stir flour mixture into the pumpkin mixture.
5. Pour batter into 3 small well-greased loaf pans or fill as many regular size and mini muffin tins as you like if you are making muffins instead.
6. Bake at 350° for 1 hour and 30 minutes or until toothpick comes out clean when inserted.
Special Notes:
You can definitely cut the recipe in half and make less. Don't use cupcake liners when making muffins, though. Make sure you grease the muffin tins well. If you make the mini muffins, watch them because the baking time will be less for them than the larger muffins. I have never found the "right size" can of pumpkin for this recipe. I usually buy the big can of pumpkin and just throw out the leftovers.
Ingredients:
1 cup chopped tomatoes 1 cup chopped kalamata olives 2 tablespoons chopped parsley 2 tablespoons finely chopped red onion (or very sweet/mild white onion) 1 tablespoon extra virgin olive oil
Directions:
1) Mix together all ingredients. Enjoy!
Notes:
If you like black olives, you'll love this salsa. I even make twice the amount and serve it as a side dish sometimes!
Once you try homemade pasta, you won't ever want the store bought kind again.
Ingredients:
3 cups unbleached all-purpose flour 4 large eggs 1 teaspoon extra virgin olive oil 1 teaspoon fleur de sel (or other flaky or semi-course salt) (you could grind kosher salt - that would work) cornmeal for dusting finished pasta so it doesn't stick
Instructions: (I used a Kitchen Aid mixer. You could do this by hand, but why?):
1) Put all ingredients EXCEPT the cornmeal in the mixing bowl. Mix on speed 2 for 30 seconds using the regular flat beater attachment.
2) Switch to dough hook. Mix on speed 2 for 2 minutes.
3) Knead dough by hand on counter, folding dough over, gathering it into a ball, pushing it down with your knuckles and the heels of your hands.... it's a great workout. Do this for 10 minutes.
4) Form dough into a ball and cover with saran wrap so it doesn't dry out. Leave it at room temperature for 30 minutes. Have a glass of wine! ;)
5) Cut dough into 4 equal pieces. Take one piece to work with and re-wrap remaining dough in plastic wrap so it doesn't dry out.
6) Use your pasta machine to get dough to desired thickness. Cut pasta using pasta machine.
Getting the hang of the pasta machine.
7) Put a thin dusting of cornmeal on a baking sheet. Place cut pasta on the baking sheet. Dust top of pasta with cornmeal, lightly.
8) You can dry pasta for 10 minutes by hanging it over the back of a chair or using a pasta drying rack. Whatever floats your boat.
Drying the pasta. Yes, this is hanging over my kitchen chair. I read this tip in the Master Chef cookbook. A practical alternative usage for furniture. ;)
9) This recipe makes 1 lb. of pasta, so continue to work through the remaining 3 quarters of dough making pasta, and when you have enough drying for dinner, take the remaining sheets of pasta after they are cut and dusted with corn meal and coil the strands into a nest. You can freeze the pasta nests wrapped loosely in waxed paper and gently placed in a ziplock bag for up to a month.
10) To cook the pasta, have a LARGE pot of salted water, rapidly boiling on the stove. Add the fresh pasta and stir it a little at first to prevent the pieces from sticking. Fresh pasta cooks in 2 minutes. Drain it, and add sauce. Do NOT rinse the pasta if you plan on using it immediately. The starches help the sauce stick. If your sauce isn't ready as soon as the pasta, rinse the pasta gently in cold water in a collander so it stops the cooking process and the noodles don't stick to each other. You will have to reheat it later with the sauce.
Notes:
There are 2 kinds of pasta machines - the hand crank kind, and the kind I used that consists of attachments that you screw onto your Kitchen Aid mixer. If you already have the mixer, it's cheaper to get the attachments and much easier so you have both hands free and don't have to use one hand to crank. The Kitchen Aid pasta attachments come with instructions for using the attachments, too; and with any pasta machine, you want to start running the dough through setting "1", and work your way number by number all the way to either 7 or 8 (one of the thinnest settings). You will want to cut the sheets of pasta as you get them thinner and thinner so they are more manageable to work with and not 3 feet long! :) A sheet of pasta should be about 1 ft long before you attempt to run it through the pasta cutter attachment. If it's longer than that, cut it, or you're going to have a hard time threading it through the cutter.
Dinner is served! :) Homemade pasta is the best!
- When you get soft shell crabs they are usually flash frozen because they have been already killed. So you don't need to boil them as you would with live crabs to kill them.
Cleaning the Crabs:
1) Clean the crabs by taking kitchen shears and remove about 1/2 inch behind the eyes and mouth of the crab. Squeeze out the insides of the sack inside the cut area. Turn the crab over and remove the gills and apron. Rinse each crab under cold water. (Wish I had a video to show you this...you can probably find one online. It's a lot easier than cleaning a hard shelled crab.)
2) Soak the crabs in milk for about 15 minutes. It softens them a bit and makes them easier to bread or coat.
Sauteed Soft Shell Crabs:
1) Dredge crabs in seasoned flour. I use paprika, salt, pepper, and a touch of garlic powder. Not too much paprika - it just gives the crabs a little color when you cook them.
2) Heat 1 stick of butter in a skillet until it melts.
3) Add 2 garlic cloves, crushed. Saute 1 - 2 minutes.
4) Remove garlic, add crabs. (I add 2 - 3 crabs at a time, depending on how big your pan is and how small the crabs are. You don't want to overcrowd the pan.)
5) Cook on each side until they're lightly browned.
6) Squeeze a fresh lemon wedge over them. Serve
Fried Soft Shell Crabs:
1) You can either make a batter using Bisquick, or some flour (about 1 cup), 3 eggs, salt, pepper, paprika, garlic powder, and about 1/2 - 3/4 cup milk. You want the batter not to be as thick as a pancake batter, but not too loose. You want it to coat your crabs. Add more or less milk depending. I always just eyeball this.
2) Heat about 2 inches of canola oil in a heavy-bottomed deep pan until hot. Submerge no more than 2 crabs at a time into the oil and cook for 4 minutes. When you add the crabs they should start bubbling and frying immediately or your oil is not hot enough.
3) Remove crabs from oil, and let drain on paper towels. Season with a little salt. Make the next batch in the oil.....
Ingredients:
2 1/2 teaspoons paprika 2 teaspoons caraway seeds 2 teaspoons dried marjoram 1 teaspoon dry mustard 1/2 teaspoon cayenne pepper (optional - my daughter prefers it w/out the cayenne) 1/4 cup olive oil
Instructions:
Mix it all together, and coat the meat in it well in a ziploc bag, overnight.
|