Printer friendly version:
| ratatouille_printable.docx |
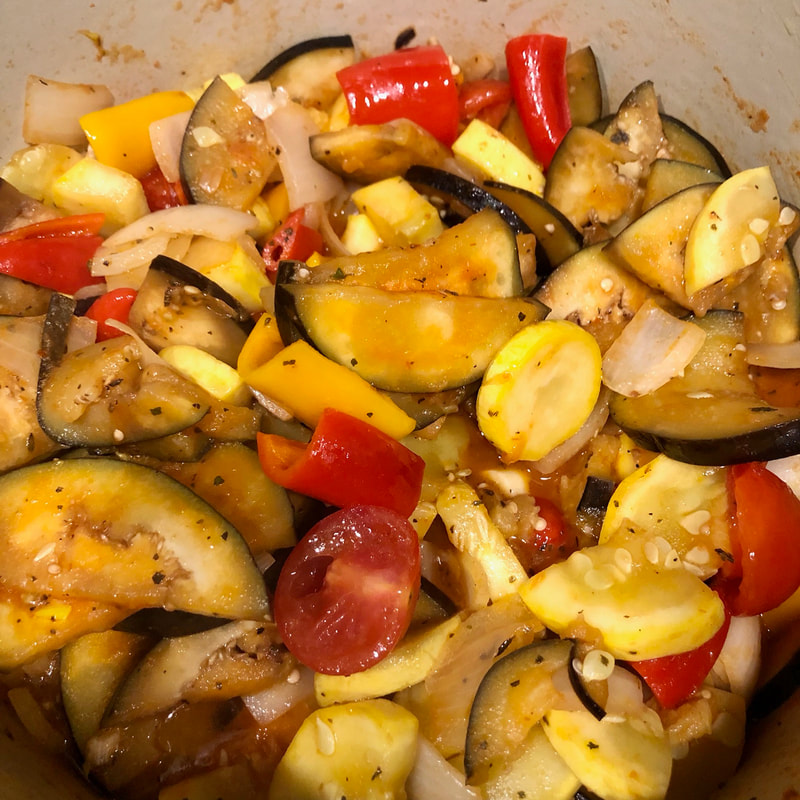
Ratatouille is a cute Disney film - but this is not exactly that - it's the infamous dish that the movie was named after - an assortment of colorful "characters" that come together to form something beautiful: a metaphor for the movie magic.
Ratatouille is the French version of a poor man's vegetable stew. It's missing the meat, but don't let that discourage you. This meal packs flavor and pairs excellently with some good bread. You'll notice the Mediterranean influence of spices. It's a distant cousin of the Mexican squash dish - "calabacitas", and notably differs in spices and purposely omits the hot peppers and jalapeños (although a little jalapeño for heat in this dish would not be a bad thing if you lean towards the heat).
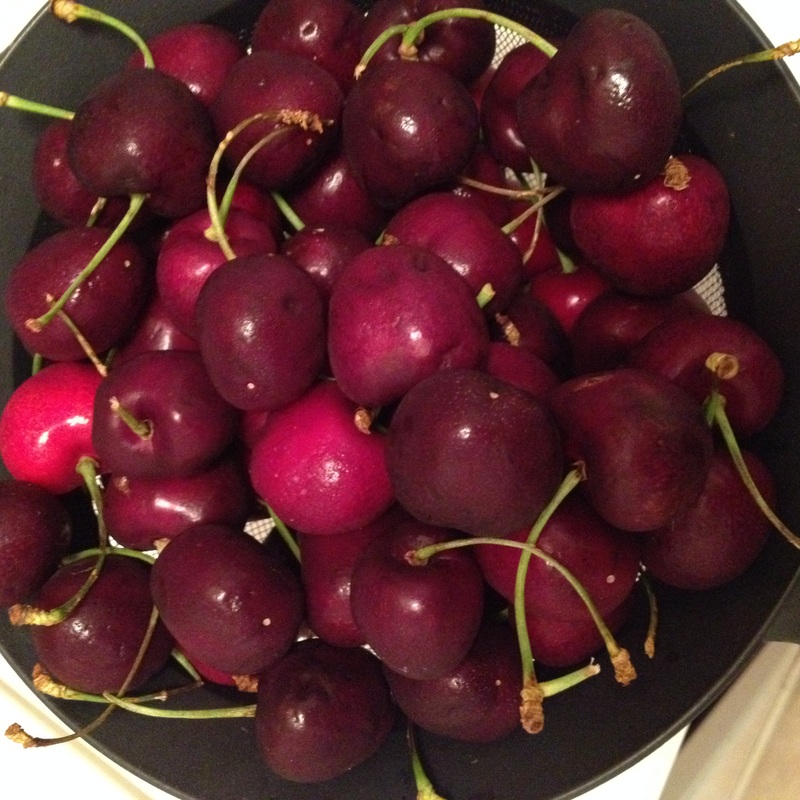
Leftovers keep well for 2-3 days in the refrigerator, and if you can't find a specific color zucchini, onion, or pepper, don't worry. The idea is to make this dish colorful! Historically, peasants used whatever color vegetables they had on hand. Fresh or dried herbs may be used, and if you don't have marinara sauce, any type of tomato sauce works just fine. I have even used cherry tomatoes in an equivalent amount when I don't have large tomatoes on hand. Bon appetite!
Ingredients:
1 eggplant (cut into big chunks or slices)
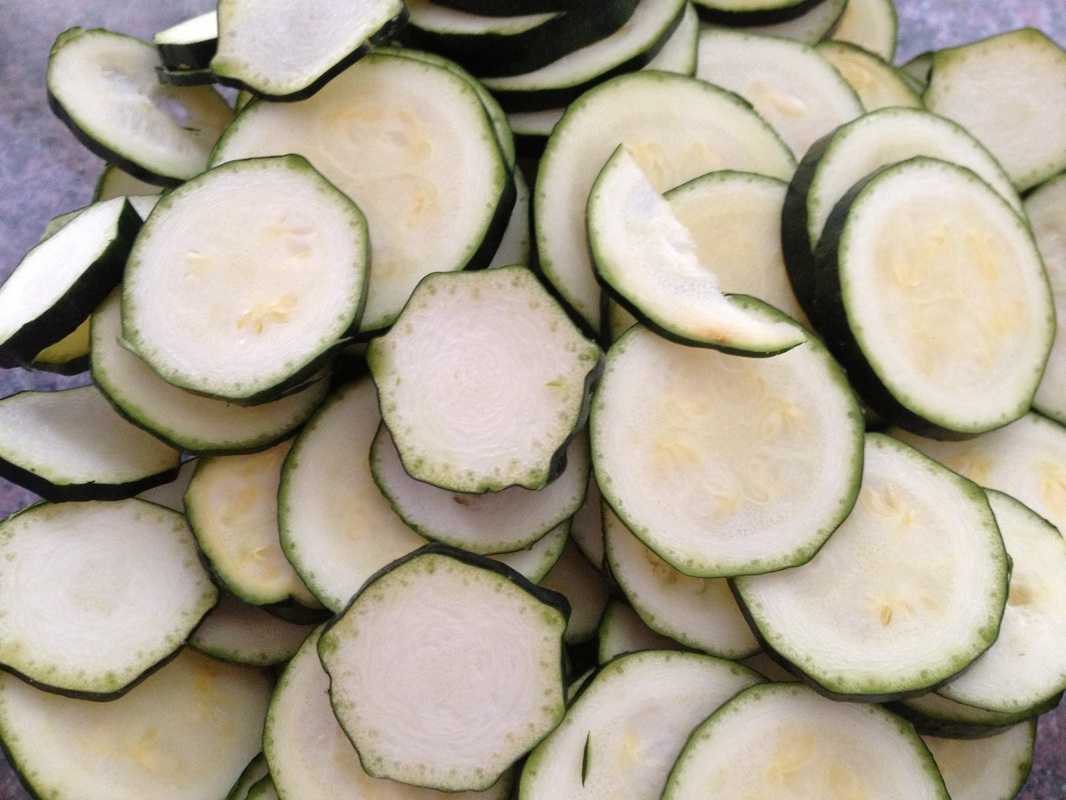
1 big yellow squash or zucchini (2 if small) (cut into chunks)
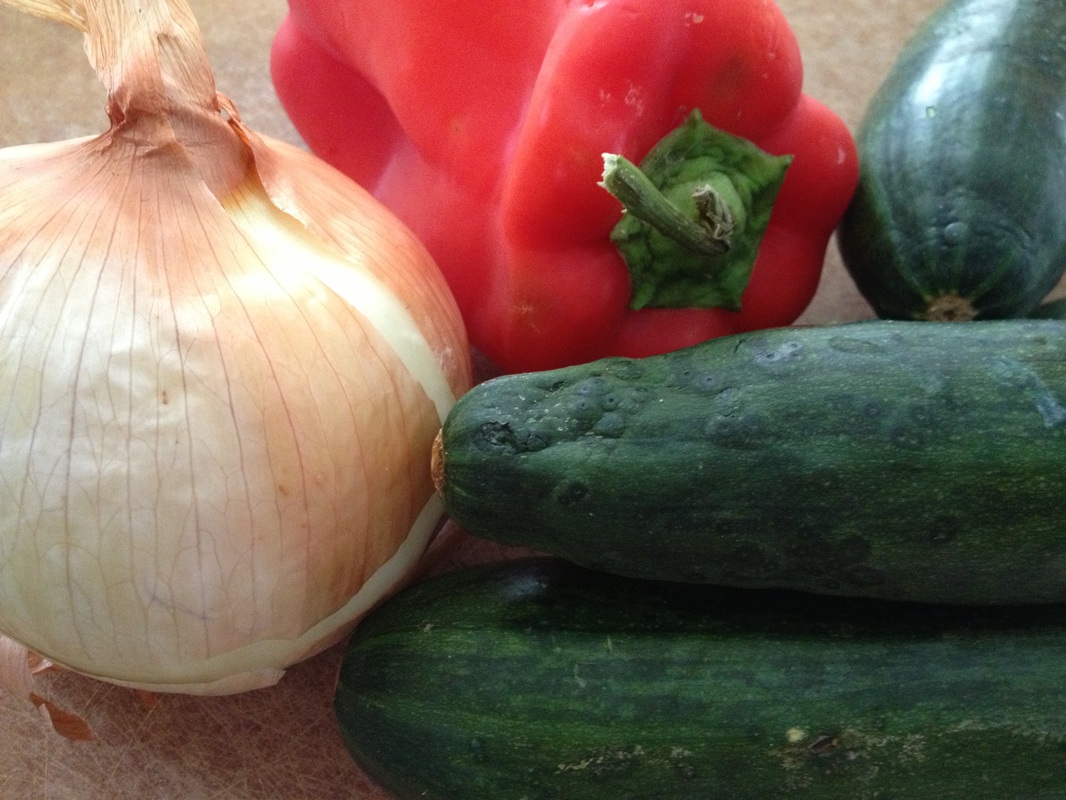
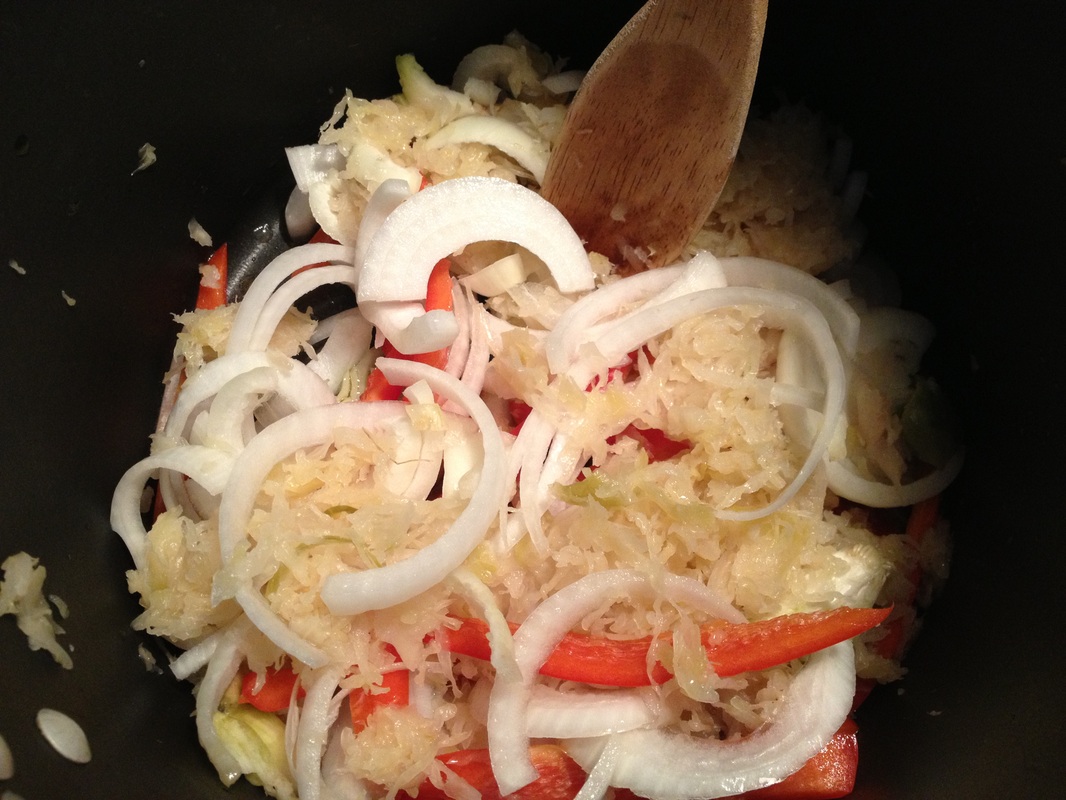
1 green, yellow, or red pepper (cut into bite size pieces)
1 medium onion (cut into chunks)
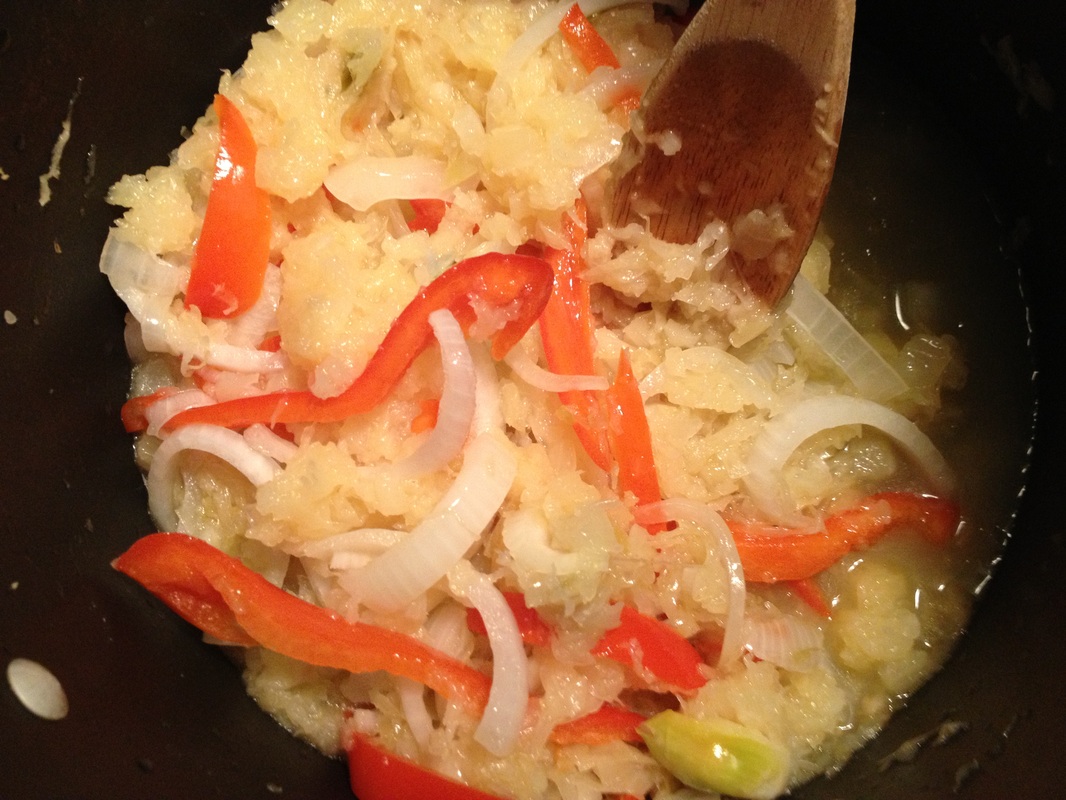
¼ cup marinara sauce
¼ cup water
1 tsp salt
½ tsp pepper
½ tsp oregano
½ tsp basil
¼ tsp thyme
3 cloves garlic (chopped)
2 large tomatoes (cut into chunks)
6 tbsp olive oil
Directions:
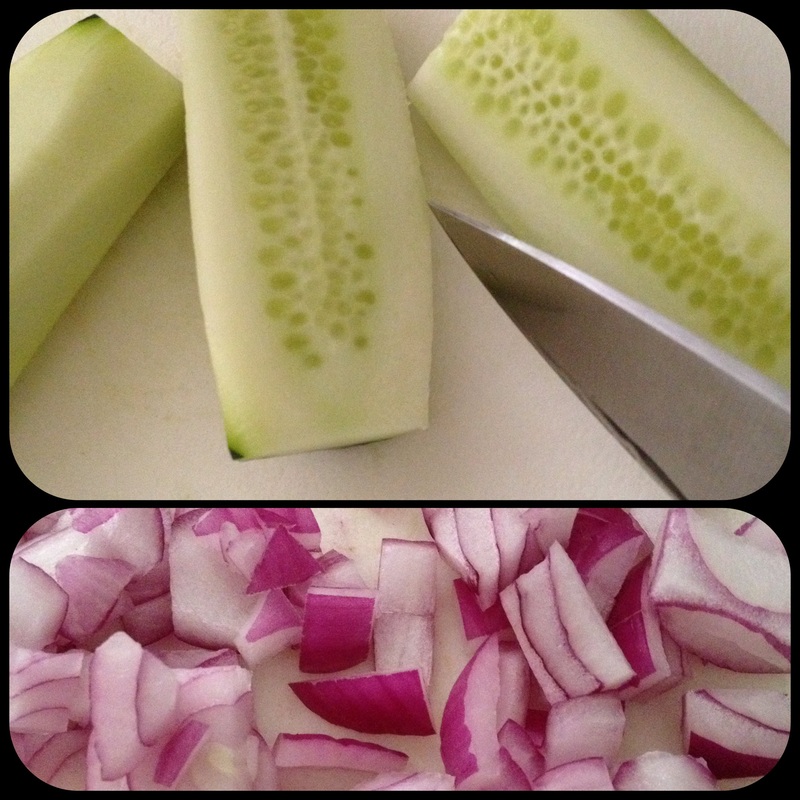
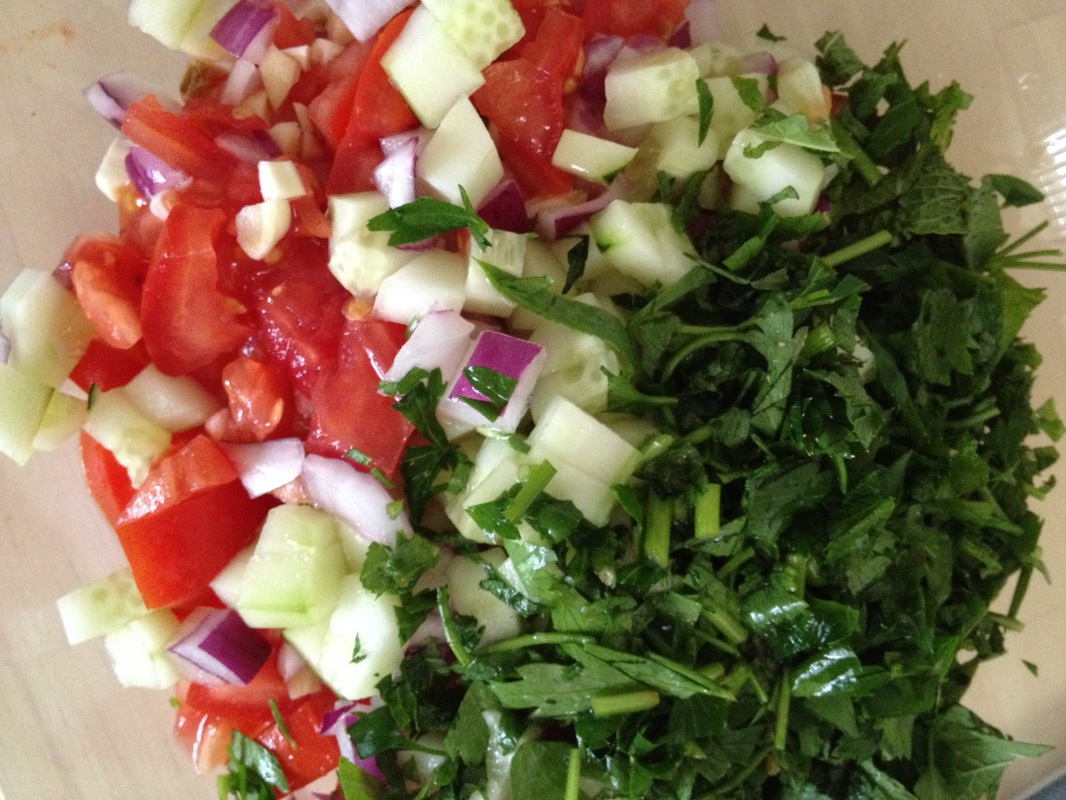
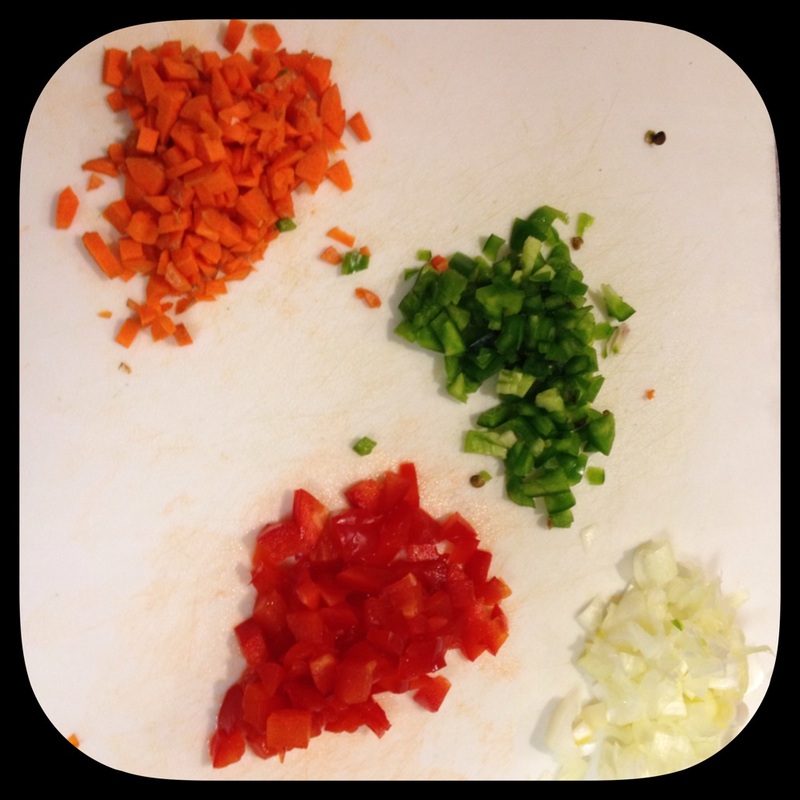
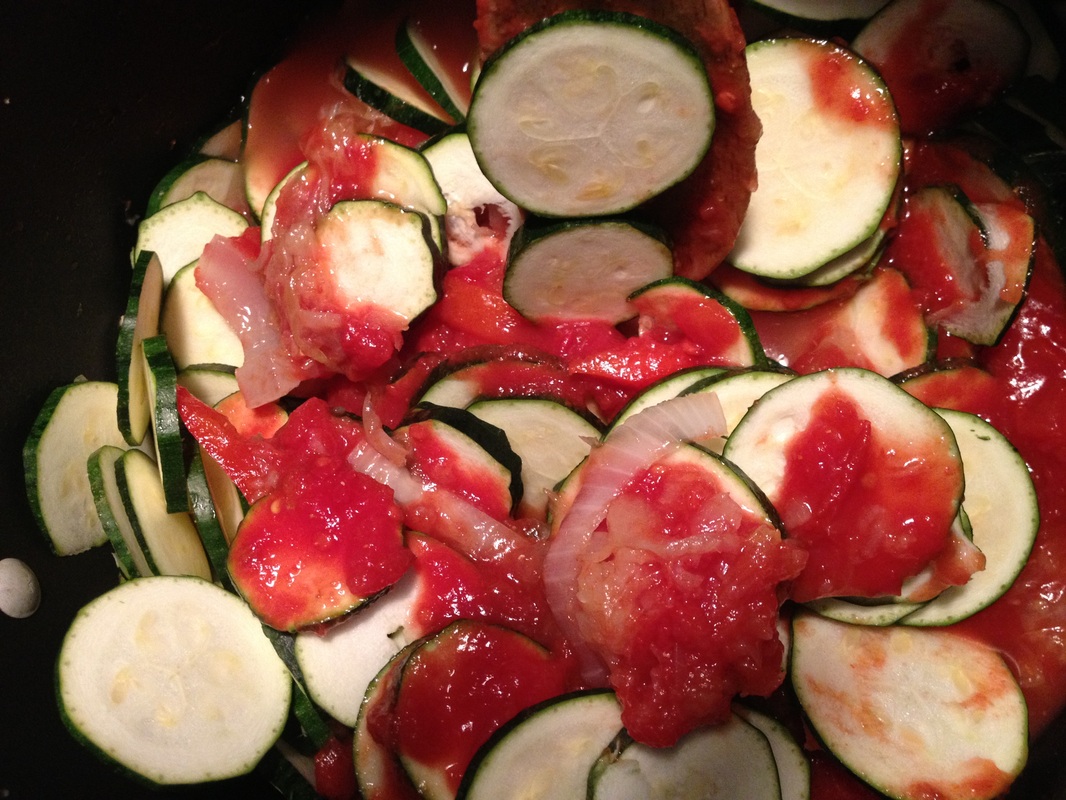
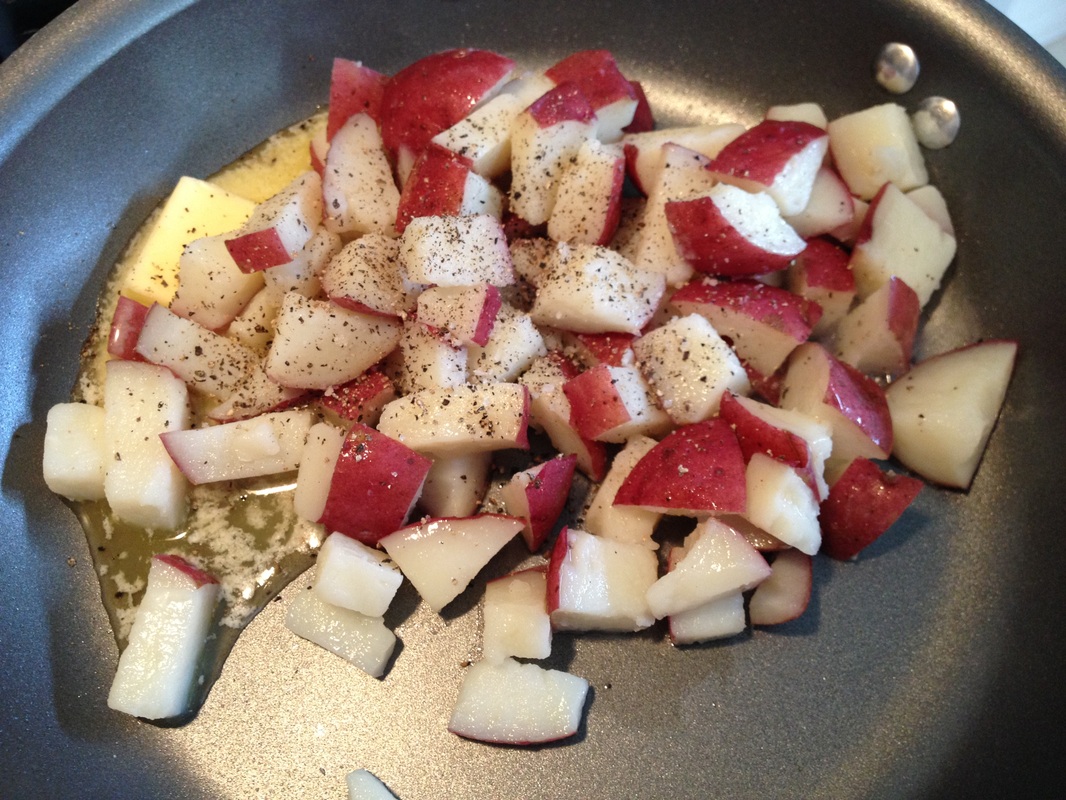
1. Cut all vegetables. The idea is you want some purple, red, yellow and green, if possible – so choose different colors of zucchini/yellow squash, and peppers.
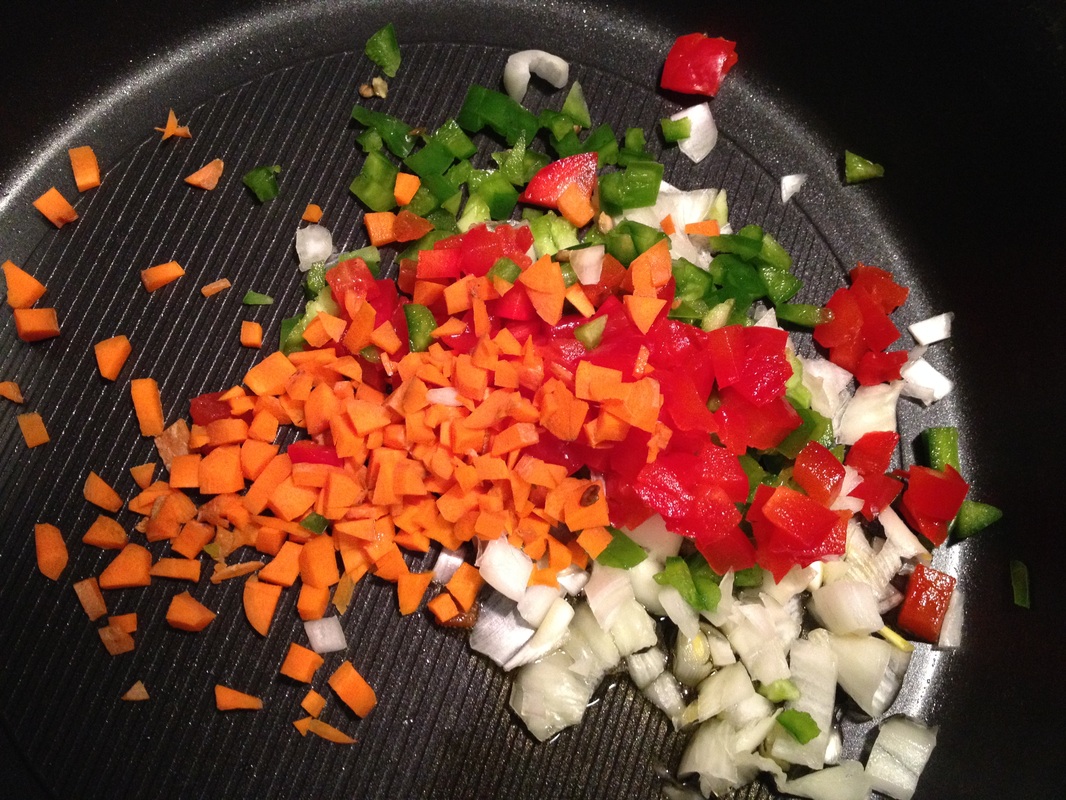
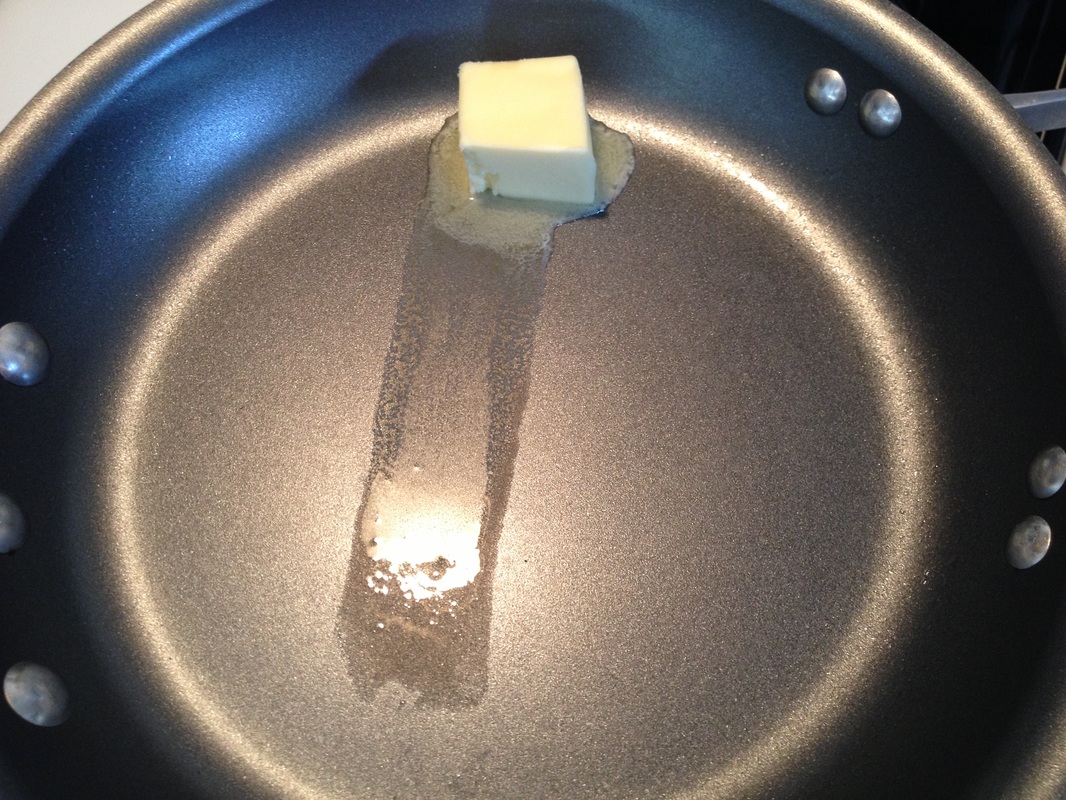
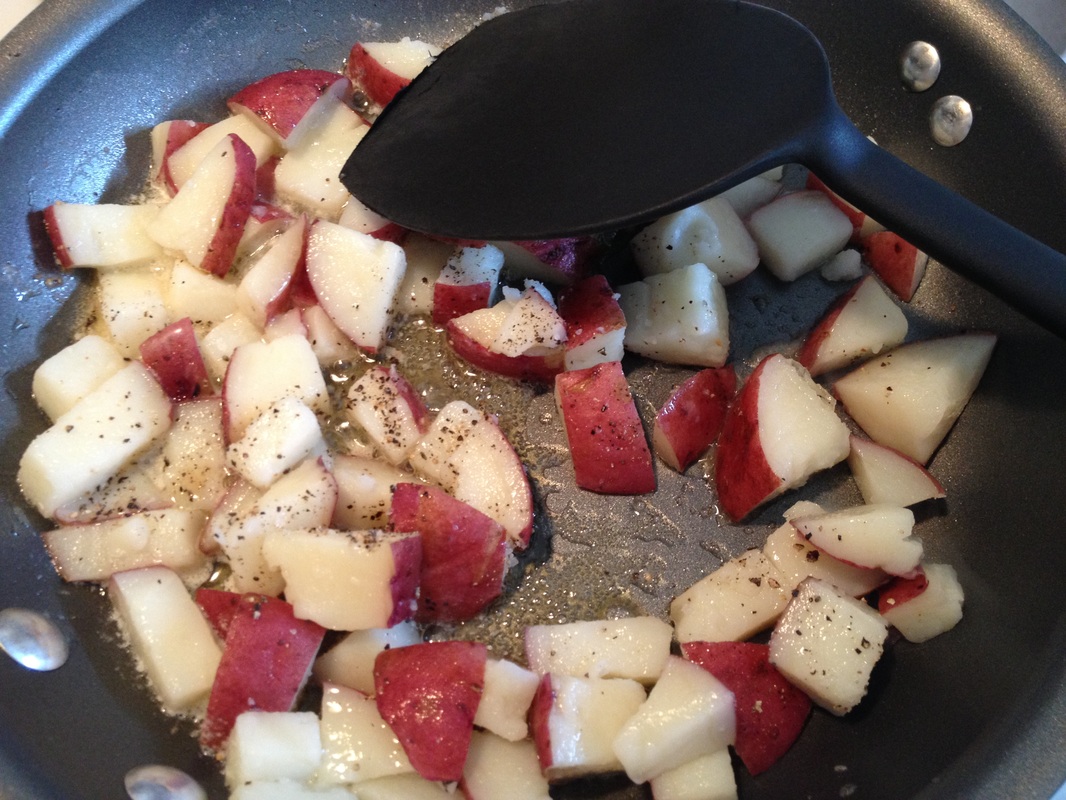
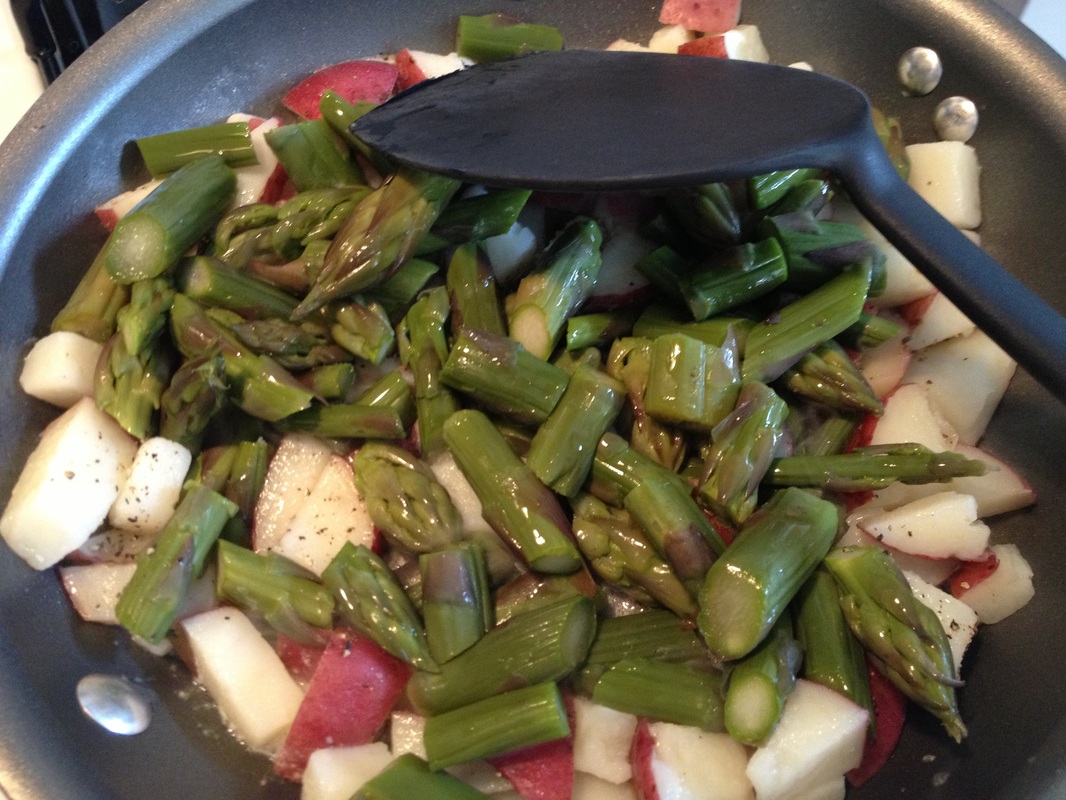
2. Place all vegetables in a large 4-quart pot as you cut them. Add olive oil. Heat on medium-low heat and stir occasionally so the garlic doesn’t fall to the bottom and burn and all vegetables are coated in olive oil. Let everything sauté while stirring for about 10 minutes.
3. Add spices, sauce, and water. Keep stirring occasionally.
4. Lower heat to low, and cover. Stir every 3-5 minutes until eggplant is soft and zucchini and peppers are mostly soft but not mushy. Serve alone or with bread.
Serves 4.
Ratatouille is the French version of a poor man's vegetable stew. It's missing the meat, but don't let that discourage you. This meal packs flavor and pairs excellently with some good bread. You'll notice the Mediterranean influence of spices. It's a distant cousin of the Mexican squash dish - "calabacitas", and notably differs in spices and purposely omits the hot peppers and jalapeños (although a little jalapeño for heat in this dish would not be a bad thing if you lean towards the heat).
Leftovers keep well for 2-3 days in the refrigerator, and if you can't find a specific color zucchini, onion, or pepper, don't worry. The idea is to make this dish colorful! Historically, peasants used whatever color vegetables they had on hand. Fresh or dried herbs may be used, and if you don't have marinara sauce, any type of tomato sauce works just fine. I have even used cherry tomatoes in an equivalent amount when I don't have large tomatoes on hand. Bon appetite!
Ingredients:
1 eggplant (cut into big chunks or slices)
1 big yellow squash or zucchini (2 if small) (cut into chunks)
1 green, yellow, or red pepper (cut into bite size pieces)
1 medium onion (cut into chunks)
¼ cup marinara sauce
¼ cup water
1 tsp salt
½ tsp pepper
½ tsp oregano
½ tsp basil
¼ tsp thyme
3 cloves garlic (chopped)
2 large tomatoes (cut into chunks)
6 tbsp olive oil
Directions:
1. Cut all vegetables. The idea is you want some purple, red, yellow and green, if possible – so choose different colors of zucchini/yellow squash, and peppers.
2. Place all vegetables in a large 4-quart pot as you cut them. Add olive oil. Heat on medium-low heat and stir occasionally so the garlic doesn’t fall to the bottom and burn and all vegetables are coated in olive oil. Let everything sauté while stirring for about 10 minutes.
3. Add spices, sauce, and water. Keep stirring occasionally.
4. Lower heat to low, and cover. Stir every 3-5 minutes until eggplant is soft and zucchini and peppers are mostly soft but not mushy. Serve alone or with bread.
Serves 4.


 RSS Feed