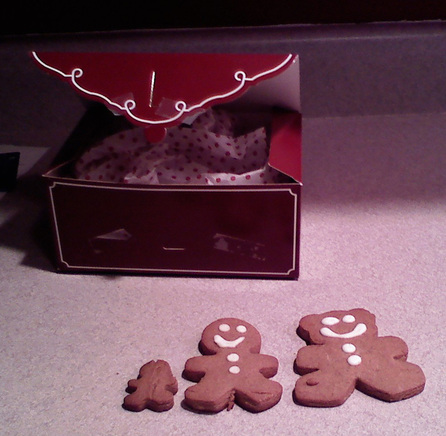
I love these cookies because you can bake them in advance of many other holiday treats and alleviate some last minute baking stress. They stay fresh in a cookie tin for up to 2 weeks. If you ask me, they are even better a few days after baking because they crisp up nicely and the icing sets.
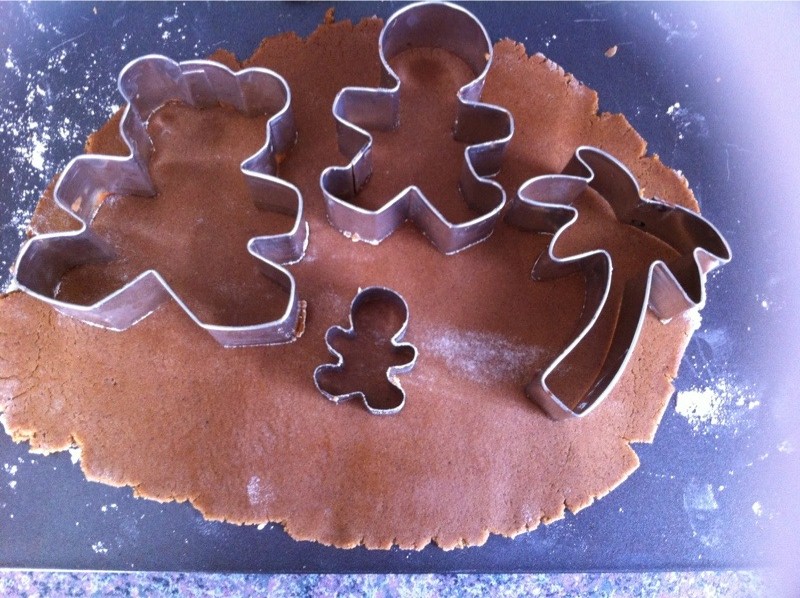
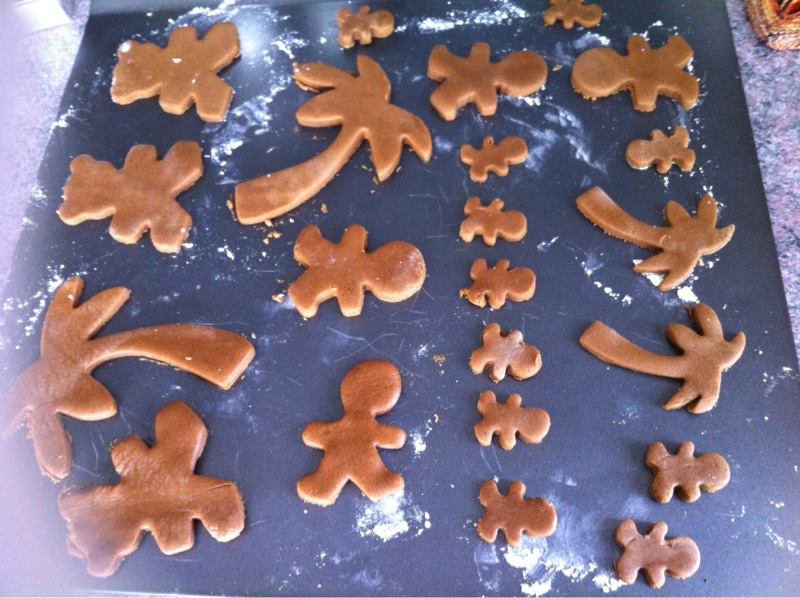
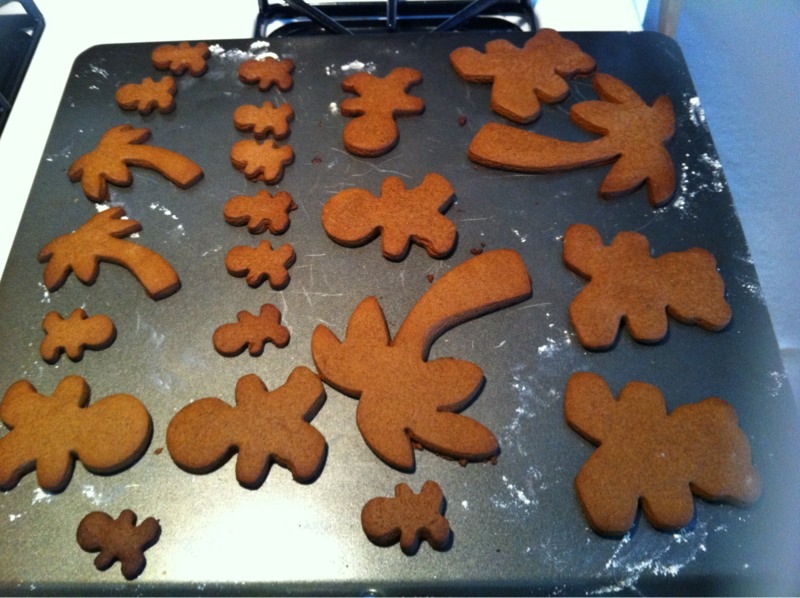
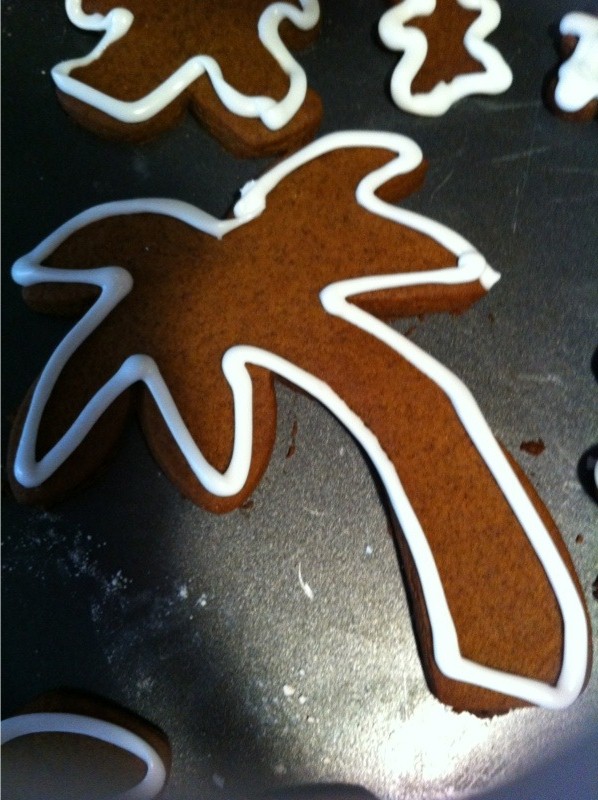
Decorating these gingerbread cookies is a fun experience, too - applying faces and buttons - or even changing the shapes! I love summer so much I made gingerbread palm tree shapes one year; and I always do gingerbread men, women, and tots, too. I have a bear-shaped cookie cutter, so you know I couldn't resist making a few brown bear-shaped ones that used the cookie color to their advantage. Get creative! Gingerbread - it's not just for Christmas anymore!
Ingredients:
1/2 cup (1 stick) butter (really soft)
1/2 cup sugar
1/2 cup molasses
2 cups flour (plus a little bit)
1/2 teaspoon baking soda
1/2 teaspoon salt
1/2 teaspoon nutmeg
1/2 teaspoon cinnamon
1 1/2 teaspoons ginger (the powdered kind)
Yeah, yeah, the measurements have to be exact here. Baking is a strict science. I prefer cooking for this reason; it allows me to experiment more. But sometimes you gotta bake just because it's so good!
Instructions:
1. Preheat oven to 350°.
2. Melt butter. Scrape into mixing bowl.
3. Add sugar and molasses. Beat well.
4. Add flour, baking soda, salt & spices. Mix.
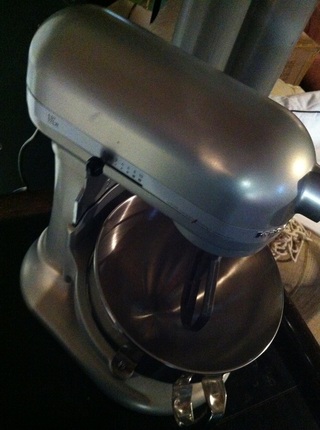
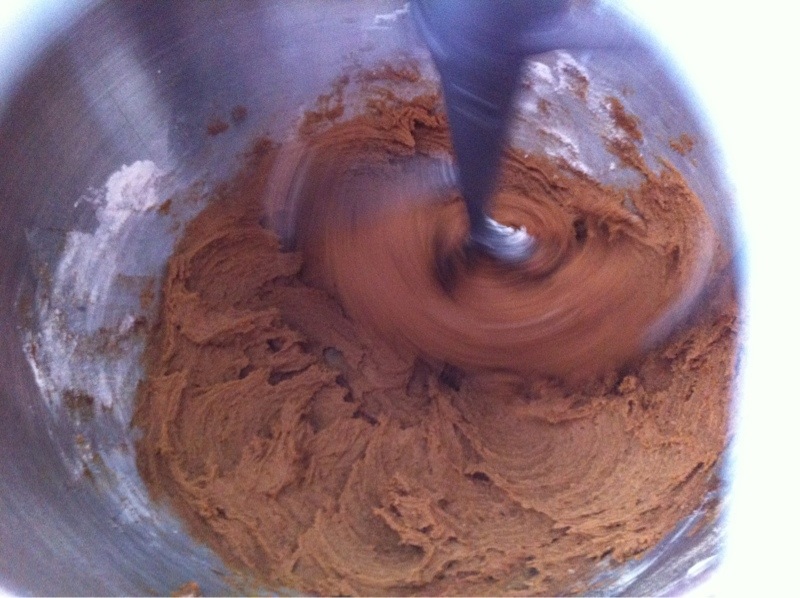
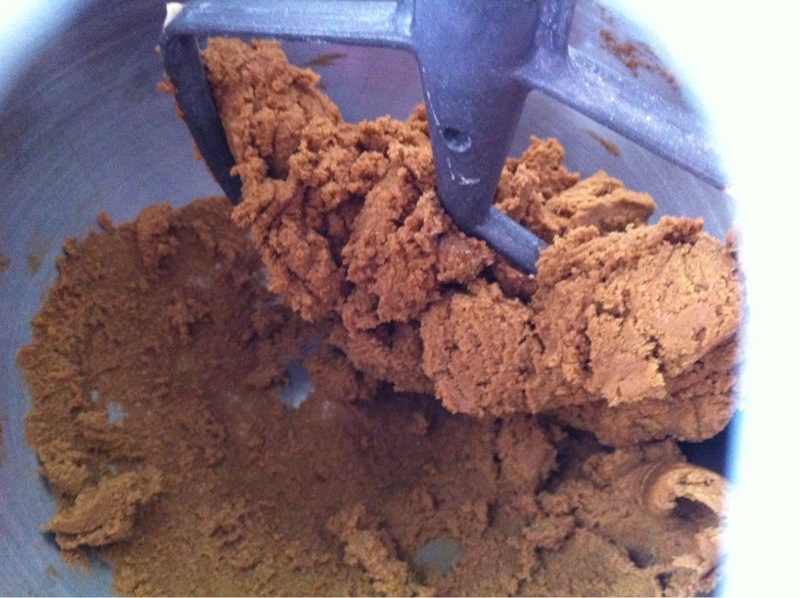
5. Beat until dough forms a ball and sticks to the blades of the mixer. If dough feels too soft to shape, add a little flour.
6. Gather dough into a ball and set on lightly floured board. Knead dough by hand.
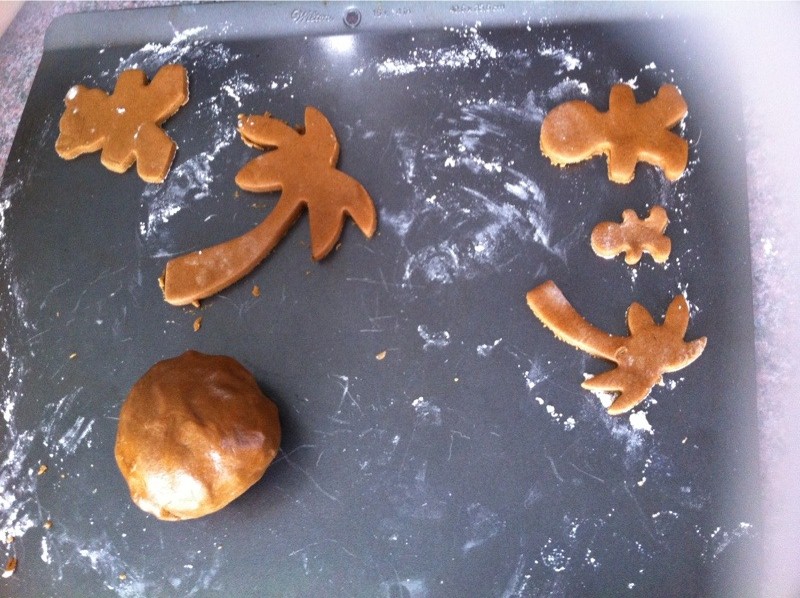
7. Divide dough so you can roll out a portion directly onto an UNgreased cookie sheet. You will use cookie cutters directly on the cookie sheet. The gingerbread shapes will fall apart if you try to move them.
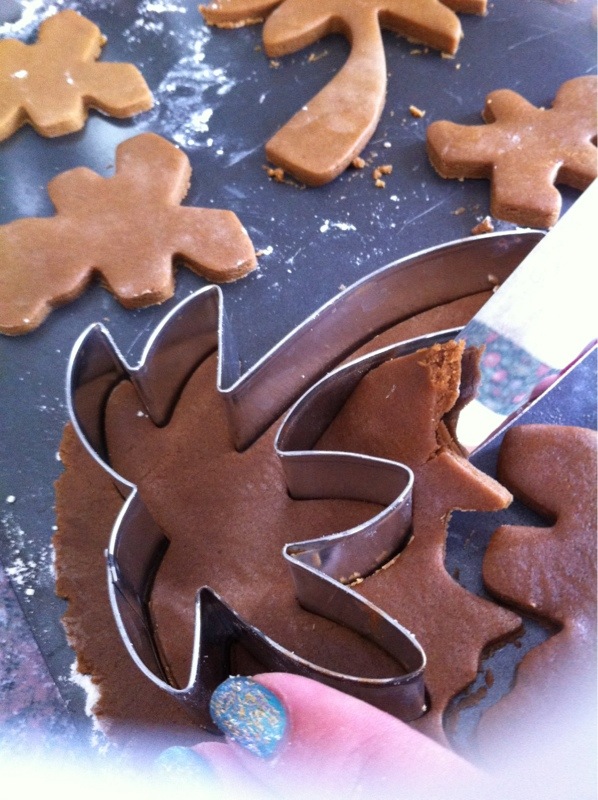
8. Cover rolling pin ever so lightly with flour to keep the dough from sticking. (You don't want your dough to turn white from the flour.) Roll dough about 1/4" thick. Cut out gingerbread cookie shapes and peel away the scraps of dough leaving the cookie shapes in place on the cookie sheet. Collect the scraps and re-use them for a few more batches of cookies.
9. Bake each tray for 10 - 13 minutes, until cookies are firm and edges are slightly darker than the middle. Cool the cookies on the baking sheet so they don't break. No wire racks necessary.
10. When the cookies are completely cool (about 1 hr or more after baking), you can ice them. If the cookies aren't cool enough the icing will melt off and smudge.
Ingredients for Gingerbread Cookie Icing:
1 tablespoon lemon juice
1 egg white
pinch of salt
3/4 cup confectioner's sugar (or a little more)
Instructions for Gingerbread Cookie Icing:
1. In a mixing bowl combine lemon juice and egg white. Stir in confectioner's sugar. Add salt.
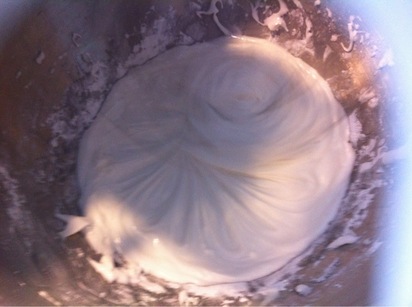
2. Beat with an electric mixer until smooth. Mixture should be like softly whipped cream. Add a little more sugar if too soupy...more lemon juice if too thick. Until you are ready to use the icing, cover it with plastic wrap at room temperature so it stays soft.
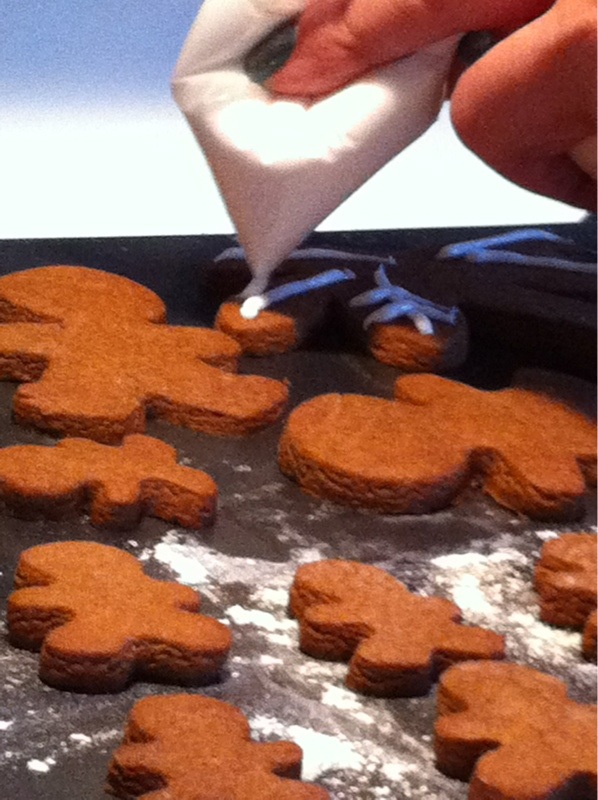
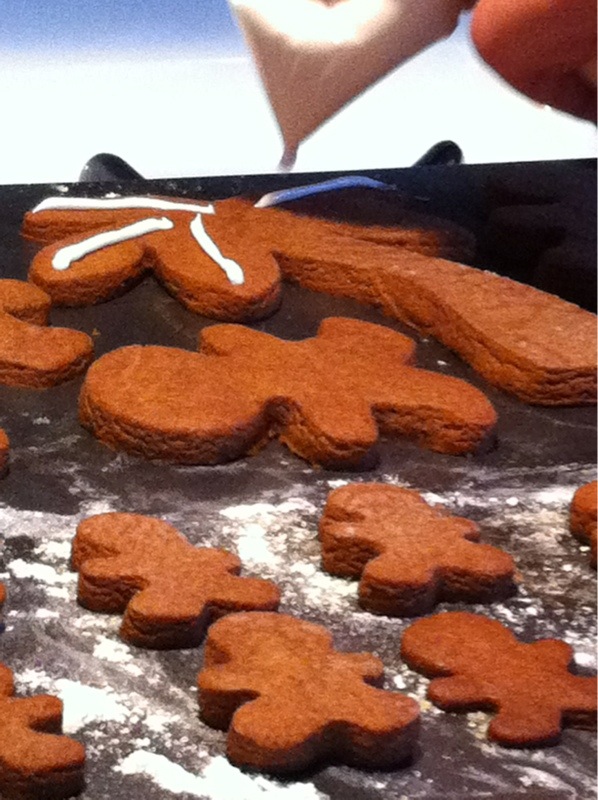
3. You can put the icing in a decorative tube and decorate the cookies on the tray. (I prefer putting it in a ziploc bag and cutting off a tiny corner. This method works well for me.) Let the icing harden a good hour or so before removing the cookies from the tray. If you stack them before the icing firms up you will have a mess on your hands and ruin your artwork.
Yield: Approximate 2 dozen palm-sized cookies. I always double the recipe because there never seems to be enough to go around!
Special Notes:
Ooops! If you drip icing on the cookies where you don't want it, a damp paper towel works to remove it before the icing dries.
Now shhh! Don't tell Manda I posted this here! ;)





 RSS Feed


